Installation Instructions
- Locate rough-in position on wall and ensure that the wall structure has sufficient strength to support the fixture and the loads the fixture may experience.
- When fixtures are secured to hollow stud walls, adequate framing should be installed in wall where the fixture can be attached to framing.
- Fixture must installed level and plumb to function properly.
- Rough-in all plumbing connections required by fixture. Refer to the submittal drawing for all required holes and wall openings. Contact Metcraft directly for additional rough-in information.
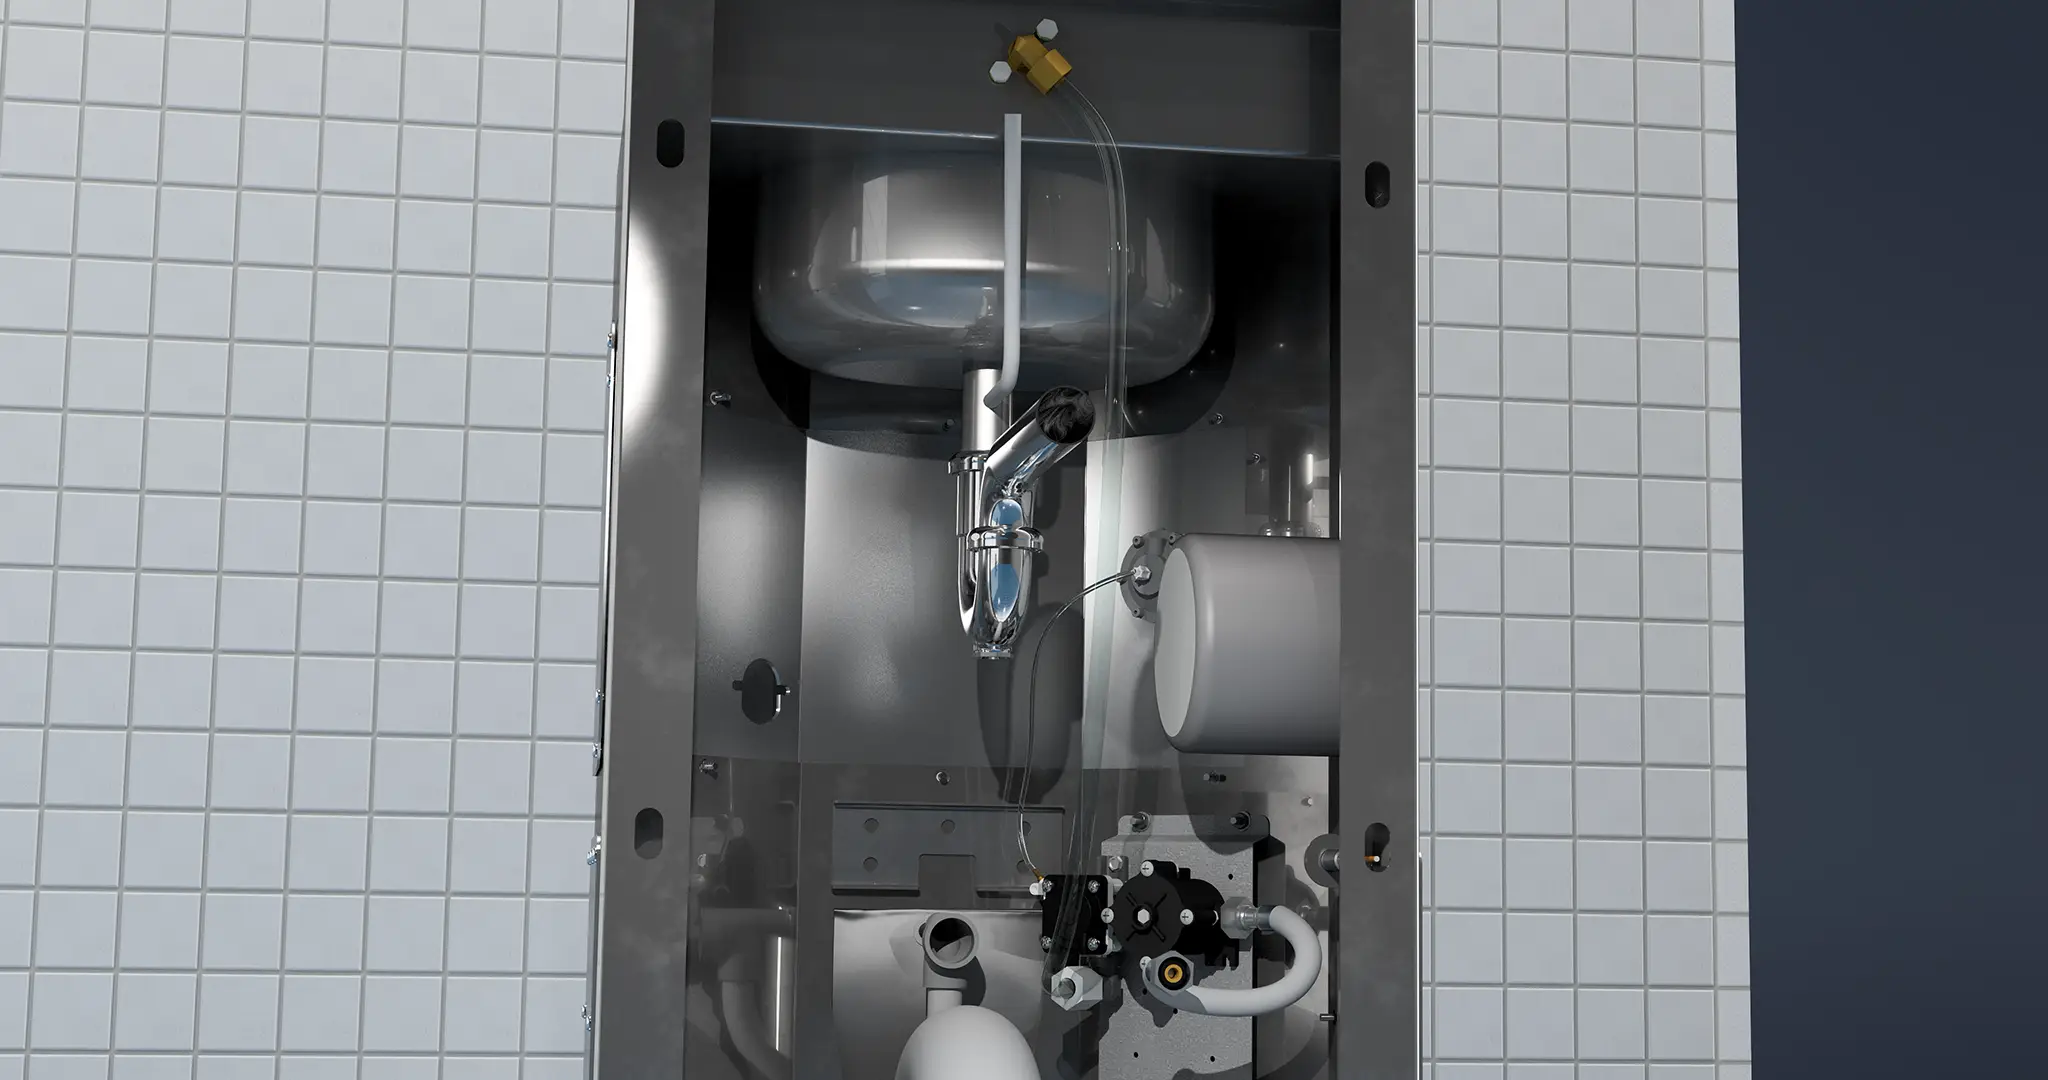
- Front mounted fixtures have a gasket flange for both wall outlet waste and floor outlet waste connections. The gasket flange on the fixture will match up to a standard closet flange mounted on the wall or floor. The gasket flange on the fixture is recessed 5/8” for space to place a wax or neoprene gasket. Gaskets are not supplied by Metcraft. Position the lavatory p-trap for lavatory waste connection.
- Attach all backsplash trim including push buttons and bubbler. Verify bubbler orientation according to bubbler option ordered.
- Unit is now ready for final positioning.
- Secure the fixture to the wall using wall anchors. Anchor positions are indicated on the submittal. Wall anchors are not supplied by Metcraft.
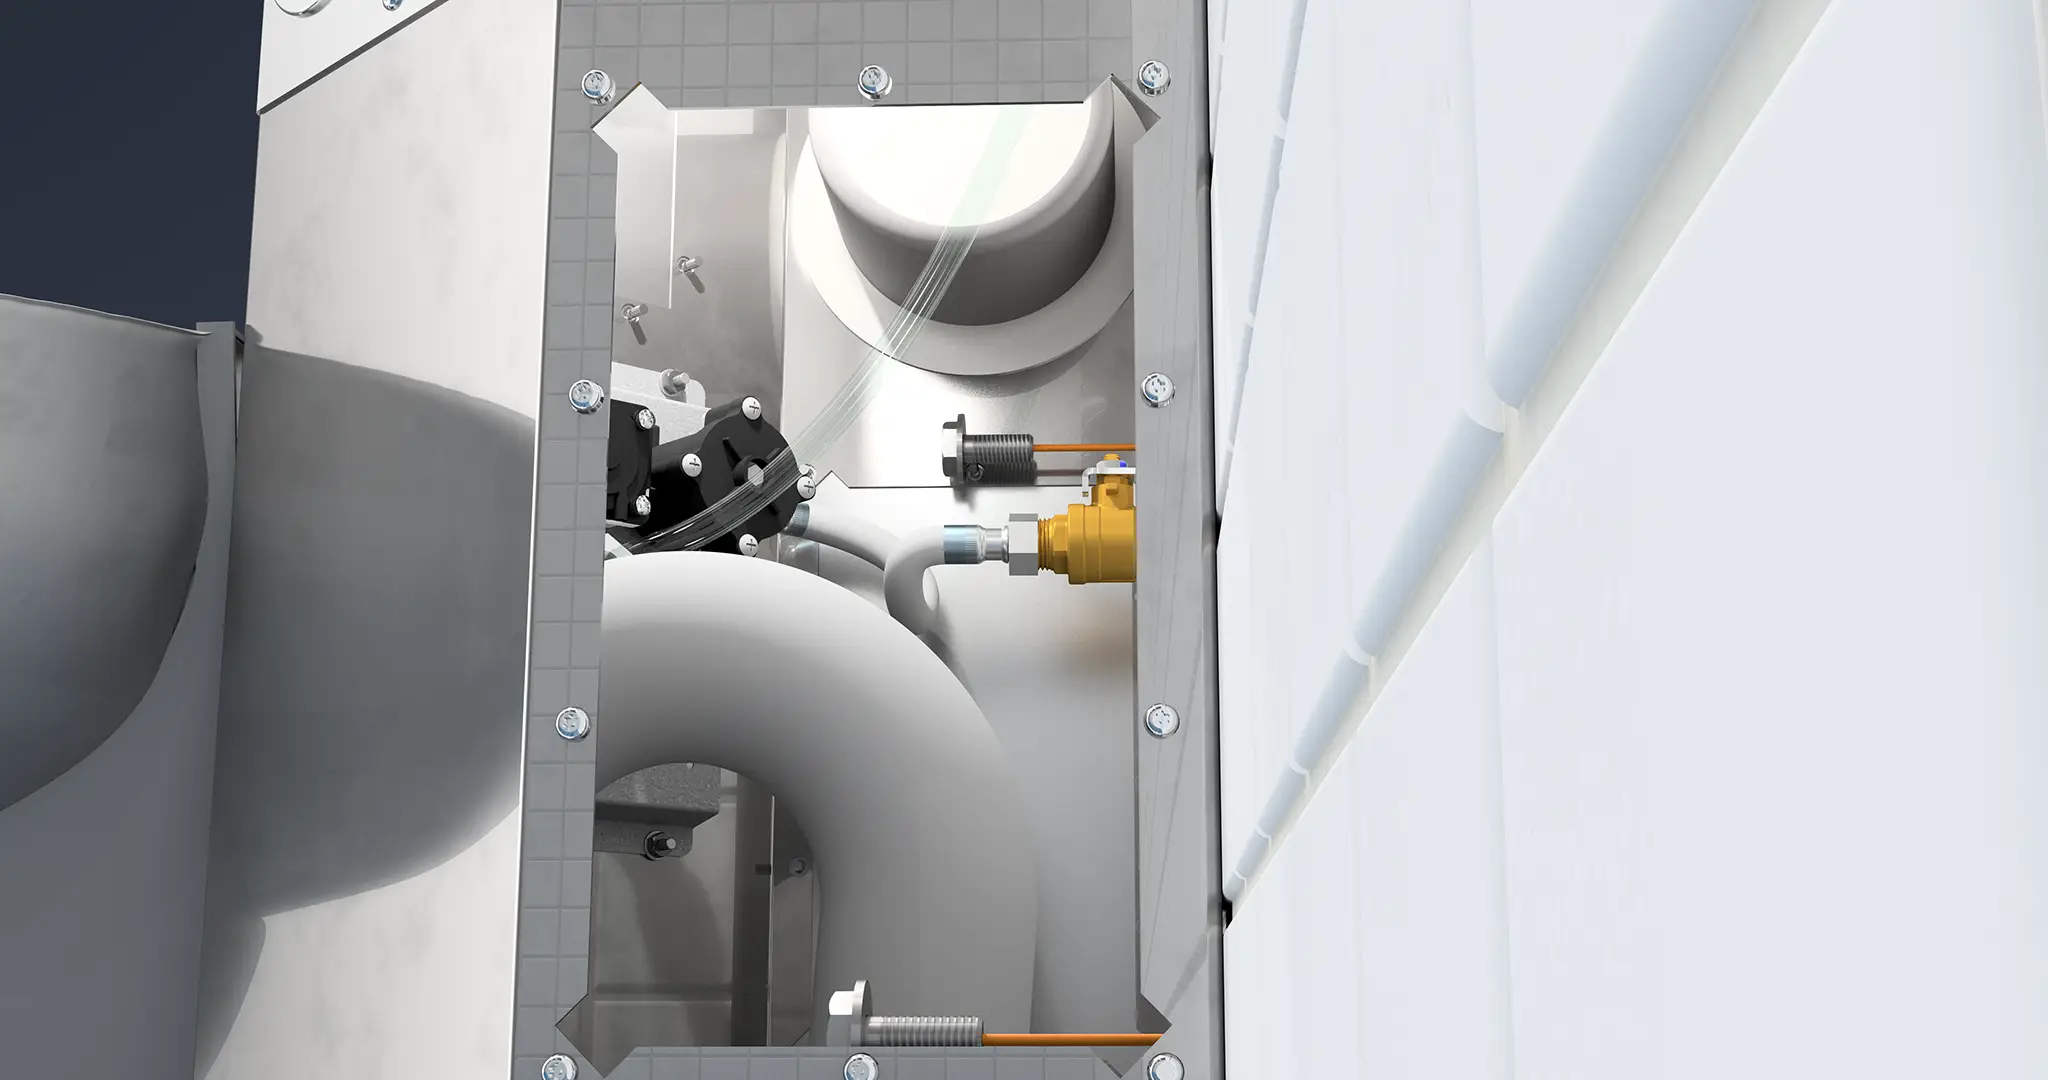
- Plumbing connections can be connected using access panels on the fixture.
- Upon complete installation, when fixture is secure, plumbing connections are not leaking, and fixture functions properly, secure access panels with tamper resistant screws provided by Metcraft.
- Security caulk may be used to fill any gaps between fixture and wall.
- A parts catalog and installation instructions are supplied with each fixture for reference.
- Trouble shooting information and videos are on the website Metcraft.com.